If you are serious about protecting your cryptocurrency, a hardware wallet is one of the most secure options available.
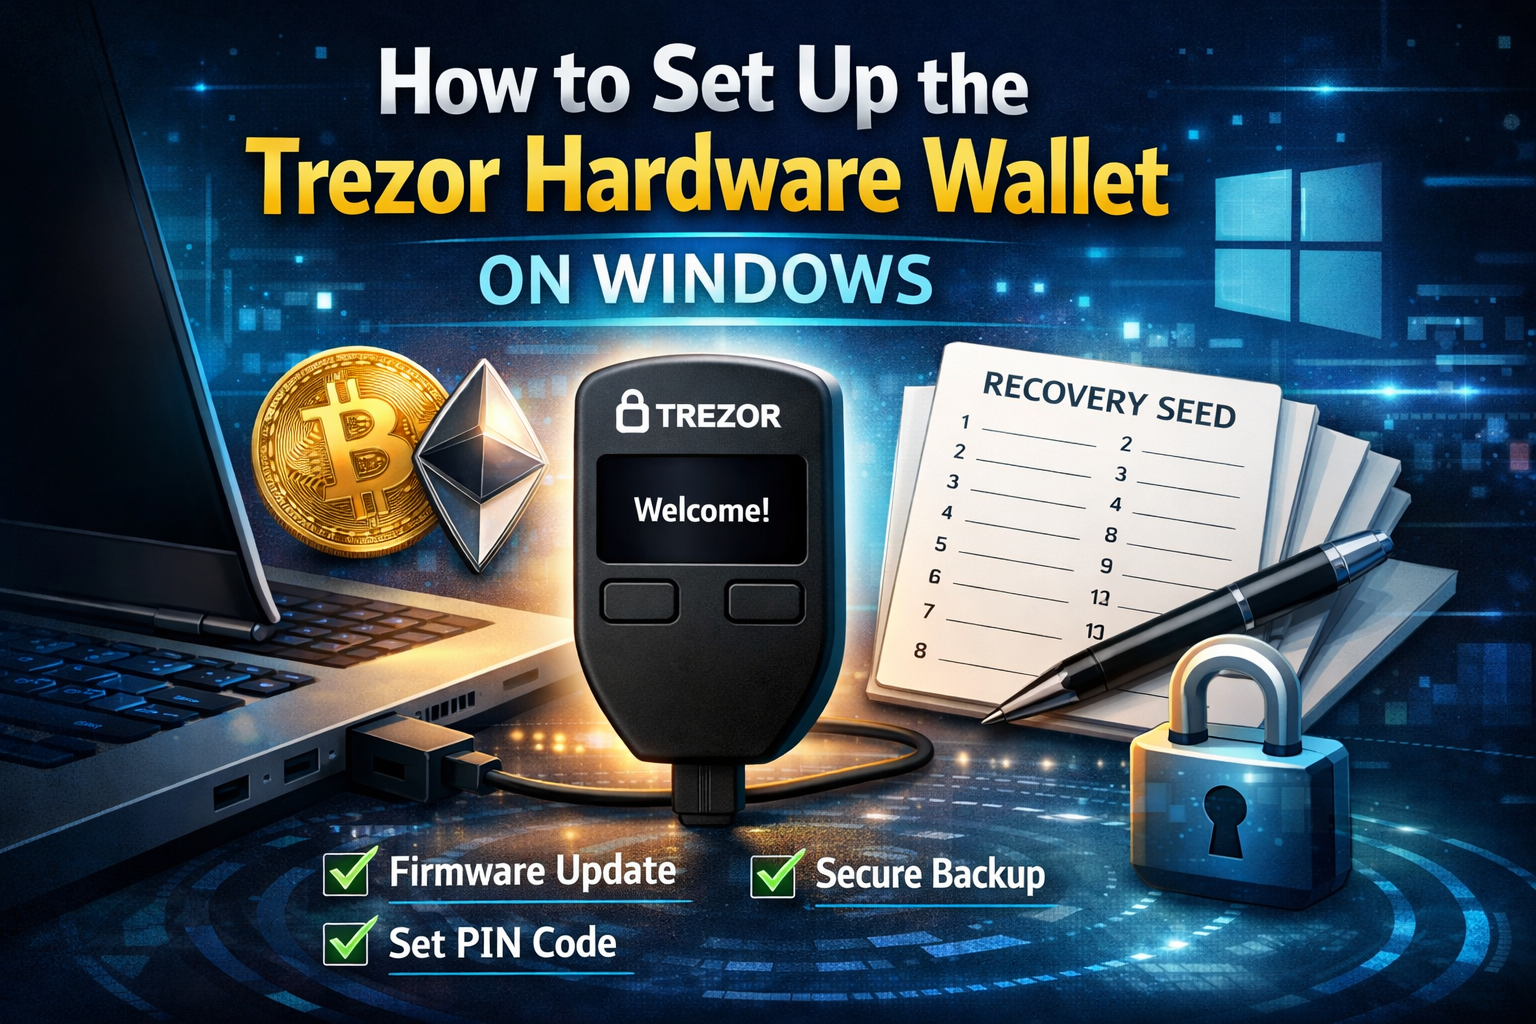
In this guide, you will learn how to set up a Trezor hardware wallet, update its firmware, secure it with a PIN, back up your recovery seed, and send your first Bitcoin transaction.
This tutorial walks through the full process on a Windows PC, but the setup is very similar on Mac.
What Is a Trezor Hardware Wallet?
The Trezor hardware wallet is a physical device that securely stores your private keys offline. It looks like a small USB device and connects to your computer when you need to access or send cryptocurrency.
It supports major cryptocurrencies including:
- Bitcoin
- Ethereum
- Litecoin
- Many additional coins listed on the official Trezor website
Because your private keys never leave the device, your crypto remains protected even if your computer is compromised.
Important Security Rule Before You Begin
Only purchase your hardware wallet directly from:
- The official Trezor website
- A trusted retailer such as Amazon
- An authorized reseller
Never buy a used or previously opened wallet. If the packaging looks tampered with, return it immediately. A compromised device could mean compromised funds.
Unboxing the Trezor
Inside the box you will typically find:
- The Trezor device
- USB cable
- Recovery seed cards
- Instruction manual
- Stickers
The recovery seed cards are extremely important. These are where you will write down your 24 recovery words.
Never share these words. Never store them digitally. Write them down and store them securely.
Step 1: Connect Trezor to Your Computer
Plug the device into your PC using the included USB cable.
The device screen will power on and prompt you to begin setup.
Step 2: Install Trezor Bridge
Previously, Trezor used a Chrome extension. However, that method is being phased out. You should install Trezor Bridgeinstead.
Go to the official Trezor start page and:
- Download Trezor Bridge for Windows
- Run the installer
- Approve the installation
- Disconnect and reconnect the device when prompted
Trezor Bridge runs in the background and allows your browser to communicate securely with your device.
Step 3: Update Firmware
When first connecting your Trezor, you will likely see a firmware update prompt.
Always update firmware immediately.
To update:
- Disconnect the device
- Reconnect while holding both buttons
- Confirm the firmware update
- Wait for installation to complete
Firmware updates ensure:
- Latest security patches
- Compatibility with supported coins
- Protection from vulnerabilities
Step 4: Create a New Wallet
After firmware installation:
- Choose Create New Wallet
- Confirm on the device screen
- Continue to backup process
At this point, your wallet is being initialized securely.
Step 5: Write Down Your 24 Word Recovery Seed
This is the most important step.
The device will display 24 words one at a time.
You must:
- Write each word in order
- Double check spelling
- Store in a secure location
- Never photograph it
- Never store it in email or cloud
If you lose your device, these 24 words allow you to recover your funds on a new Trezor.
Without them, your crypto is gone forever.
Step 6: Name Your Device
You can customize the device name to distinguish it from others.
This is helpful if you own multiple hardware wallets.
Confirm the name directly on the device screen.
Step 7: Set a Strong PIN
You will now create a PIN.
The clever part is this:
- Your computer screen shows a blank keypad layout
- The actual number positions appear only on the Trezor screen
- You match the positions, not the numbers
This prevents malware from capturing your PIN.
Choose a strong PIN and confirm it twice.
Step 8: Access Your Wallet Interface
Once setup is complete, you will see supported cryptocurrencies listed in the web interface.
You can:
- Create Bitcoin accounts
- Generate receiving addresses
- View balances
- Send crypto
Step 9: Verify Your Bitcoin Address
To receive Bitcoin:
- Click Receive
- Show full address
- Confirm that the address on your computer matches the address displayed on the Trezor device screen
Always verify on the physical device. This protects you from clipboard malware attacks.
You can also generate a QR code for convenience.
Step 10: Send Bitcoin to Your Trezor
To test the setup, send a small amount of Bitcoin from an exchange like Coinbase.
Steps:
- Copy your Trezor public address
- Log in to Coinbase
- Click Send
- Paste the address
- Double check the first and last characters
- Confirm with two factor authentication
Once broadcast, the transaction will appear as pending and then confirm on the blockchain.
After confirmation, your Bitcoin will appear in your Trezor wallet.
Why Hardware Wallets Are Superior
Compared to exchange wallets:
- You control your private keys
- You eliminate counterparty risk
- You protect against exchange hacks
- You maintain full ownership
Compared to software wallets:
- Private keys never touch your computer
- PIN protection adds another layer
- Physical confirmation prevents malware attacks
Final Security Best Practices
- Keep your recovery seed in a fireproof safe
- Never share your 24 words
- Enable passphrase protection for advanced security
- Always verify addresses on the device screen
- Update firmware regularly
A hardware wallet is your personal crypto vault. Treat it like one.
Conclusion
Setting up a Trezor hardware wallet is straightforward, but security discipline is critical.
You now know how to:
- Install Trezor Bridge
- Update firmware
- Create a wallet
- Secure your recovery seed
- Set a PIN
- Send and receive Bitcoin
If you are building long term crypto wealth, self custody is not optional. It is essential.
Your private keys. Your control. Your responsibility.


Leave A Comment