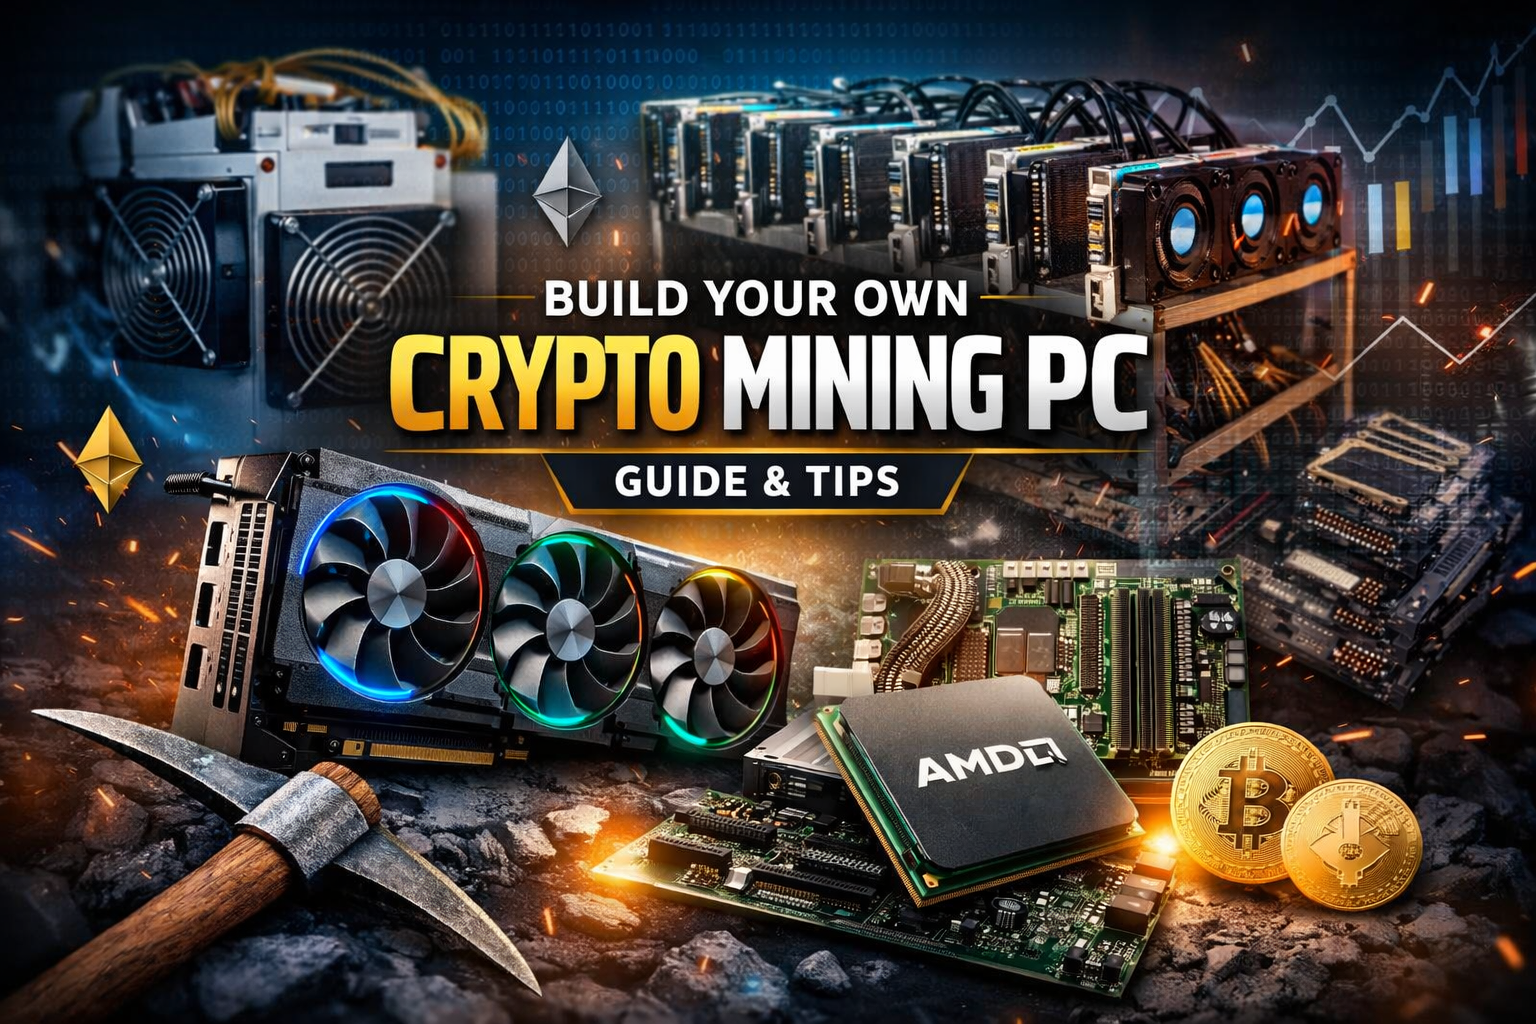
Cryptocurrency mining has evolved. In the early days of Bitcoin, you could mine with a basic computer. Today, serious Bitcoin mining requires specialized machines like the Antminer (ASIC).
But when it comes to mining many other cryptocurrencies, you can still build your own GPU mining rig from scratch.
In this guide, you’ll learn:
- Why the GPU (graphics card) is the most important mining component
- How to choose compatible parts using PCPartPicker
- What “hash rate” means and why it matters
- How to balance cost vs performance
- Why cooling and safety are critical
Let’s break it down step by step.
ASIC vs GPU Mining: What’s the Difference?
ASIC Mining (Bitcoin)

An ASIC (Application-Specific Integrated Circuit) like the Antminer is built for one purpose: mining a specific algorithm (e.g., Bitcoin’s SHA-256).
It’s:
- Extremely powerful
- Extremely competitive
- Not flexible
You can’t repurpose it easily for other coins.
GPU Mining (Ethereum, Zcash, Monero & More)
For many other cryptocurrencies, you can build your own mining PC using high-end graphics cards (GPUs).
A GPU (Graphics Processing Unit):
- Is also called a video card
- Does the heavy mathematical calculations required for mining
- Is far more important than the CPU in a mining build
If you’re building a mining rig, start with the GPU. Everything else is secondary.
Why the GPU Is the Most Important Part
When mining, the GPU performs the hashing calculations.
The key metric here is:
Hash Rate (Hashes Per Second)
A hash rate measures how fast your GPU can solve cryptographic puzzles.
Think of it like this:
The faster your mining axe swings, the more digital gold you can dig.
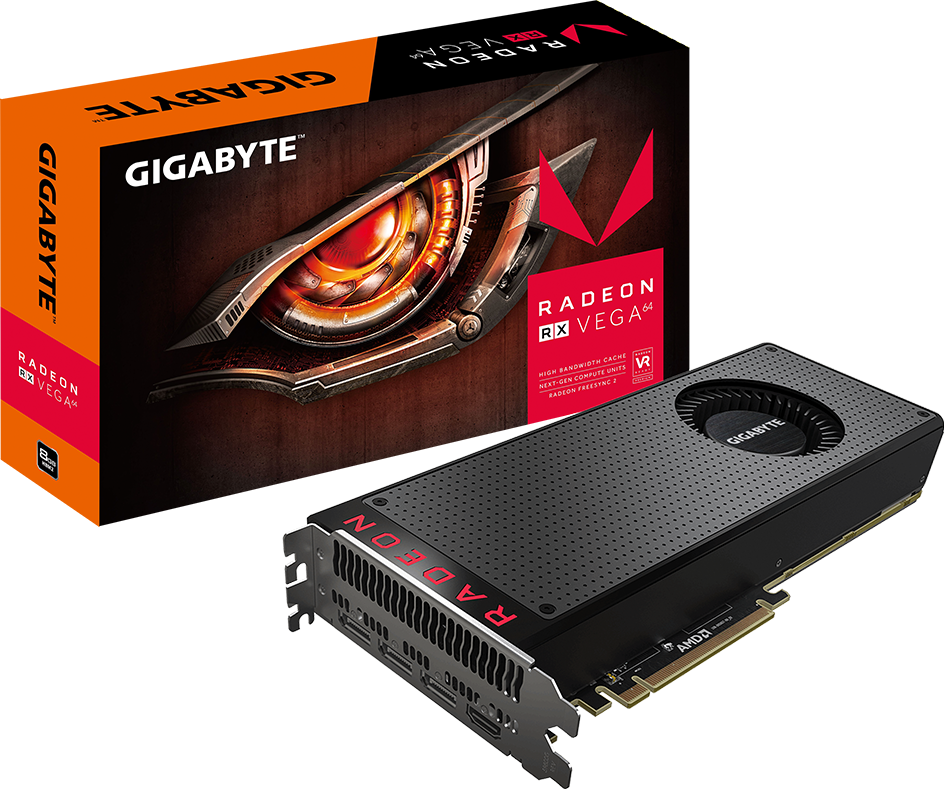
For example, a card like the Asus Radeon RX Vega 64 can mine Ethereum at approximately:
- ~34 MH/s (mega hashes per second)
- Up to ~40 MH/s if overclocked (not recommended for beginners)
More hash rate = more potential mining rewards.
But higher hash rate also usually means:
- Higher price
- Higher power consumption
- More heat
Cooling Is Non-Negotiable
Mining GPUs run hot. Very hot.
That’s why high-end cards often include:
- Dual or triple fans
- Large heatsinks
- Strong airflow requirements
Always:
- Use proper ventilation
- Avoid aggressive overclocking
- Keep safety in mind
Overclocking can push performance higher but it can also fry your hardware. Safety first.
How to Choose Compatible Parts (The Easy Way)
Building a mining PC sounds intimidating. Terms like:
- RAM
- SSD vs HDD
- Motherboard chipset
- CPU socket compatibility
But it’s actually as simple as building a Lego set if you use the right tools.
Use PCPartPicker
Think of PCPartPicker as your instruction manual.
It:
- Filters incompatible parts automatically
- Warns about conflicts
- Shows pricing across retailers
- Lets you copy proven builds
Step 1: Select Your GPU First
Because the GPU is the most important part, always start there.
Everything else CPU, motherboard, RAM should support your GPU.
Choosing the CPU (Central Processing Unit)
The CPU is the “brain” of the computer.
But here’s the key insight:
Mining rigs do NOT require a powerful CPU.
Why?
Because the GPU does the hard work.
So instead of overspending on a high-end processor, choose:
- A budget-friendly CPU
- At least 3.0 GHz
- Compatible with your motherboard
For example, an entry-level AMD processor can be more than enough.
Save your money for better GPUs.
The Motherboard: The Foundation
The motherboard connects everything together.
It must:
- Support your CPU socket
- Support your GPU
- Provide enough PCIe slots (if using multiple GPUs)
It’s the structural backbone of your mining rig.
If the motherboard isn’t compatible, nothing works.
Again PCPartPicker solves this problem easily.
RAM, Storage & Other Components
Unlike gaming PCs, mining rigs don’t need massive RAM or storage.
You can save money by choosing:
- 4GB–8GB RAM (usually enough)
- A small SSD (faster boot than HDD)
- Basic case or open mining frame
Remember:
Expensive does NOT always mean better.
Just like branded phones cost more because of marketing, some PC parts are overpriced for branding reasons.
Focus on performance per dollar.
Understanding Mining Profitability
Before buying hardware, always check:
- GPU hash rate
- Power consumption (watts)
- Electricity cost in your area
- Current crypto price
Websites that track GPU hash rates help you compare:
- Ethereum mining speeds
- Zcash mining performance
- Monero mining rates
Some coins:
- Can be mined with GPUs
- Cannot be mined at all (e.g., Ripple)
Always check the algorithm first.
Should You Overclock?
Overclocking increases performance by pushing the GPU beyond factory settings.
Pros:
- Higher hash rate
Cons:
- More heat
- Higher power draw
- Risk of hardware damage
For beginners:
Do not overclock.
Stable and safe mining is better than squeezing a few extra mega hashes per second.
Why Prices Keep Dropping
One important reality about hardware:
Computer component prices fall over time.
As crypto prices rise:
- GPU demand spikes
- Prices increase
When crypto prices fall:
- GPU prices drop
The methodology for building a mining PC stays the same even if prices change.
Final Thoughts: Building a Mining PC Is Easier Than You Think
Building a crypto mining rig is not complicated.
It’s simply:
- Choose a strong GPU
- Use PCPartPicker to ensure compatibility
- Save money on CPU and RAM
- Focus on cooling and safety
- Check profitability before mining
Mining isn’t just about plugging in hardware.
It’s about:
- Understanding hash rates
- Knowing which coins can be mined
- Managing heat and electricity
- Thinking long term
Once you understand the process, building a mining PC really is as simple as assembling Lego just with more fans and fewer Star Wars figurines.


Leave A Comment