Building your own crypto mining rig is one of the most empowering ways to understand cryptocurrency at a deeper level.
Instead of just buying coins, you’re participating in securing the network and validating transactions.
In this guide, we’ll walk through how to assemble a mining PC safely and correctly from preventing static damage to installing your motherboard, CPU, RAM, hard drive, and power supply.
Whether you’re building your first rig or refining your setup, this step-by-step tutorial will help you do it right.
1. Before You Start: Safety First (Static & Tools)
Before touching any components, you must protect your hardware from static electricity.
Static from carpets or clothing can damage sensitive parts like your motherboard or CPU.
How to Prevent Static Damage:
- Touch a metal surface before handling components
- Work on a solid, non-carpeted surface
- Avoid synthetic clothing
- Use motherboard standoffs (risers) to elevate the board
Even experienced builders sometimes ignore this — but it only takes one static discharge to ruin a board.
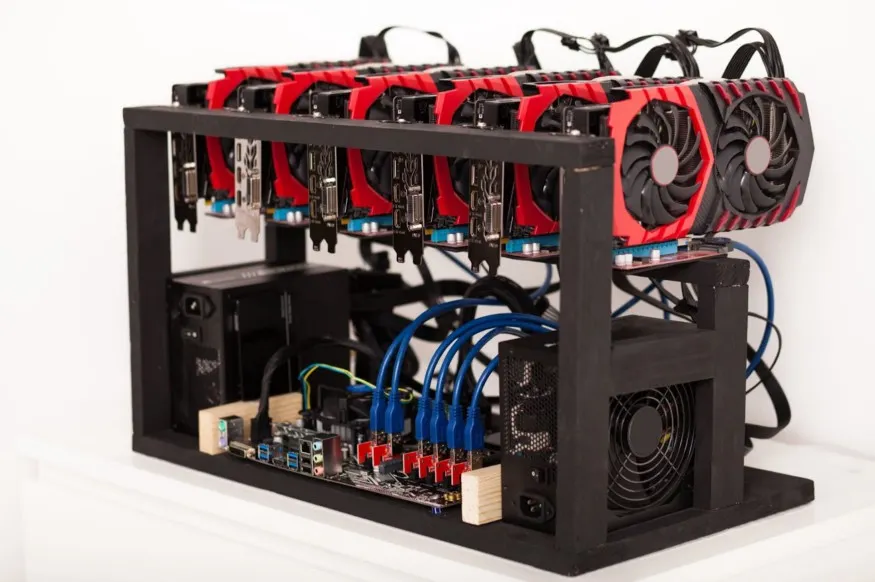
2. Choosing an Open-Air Mining Frame

An open-air frame is ideal for mining because:
- Better airflow
- Easier cooling
- Easier troubleshooting
- Easier GPU expansion
Unlike traditional PC cases, mining rigs benefit from maximum airflow especially if you’re running multiple GPUs.
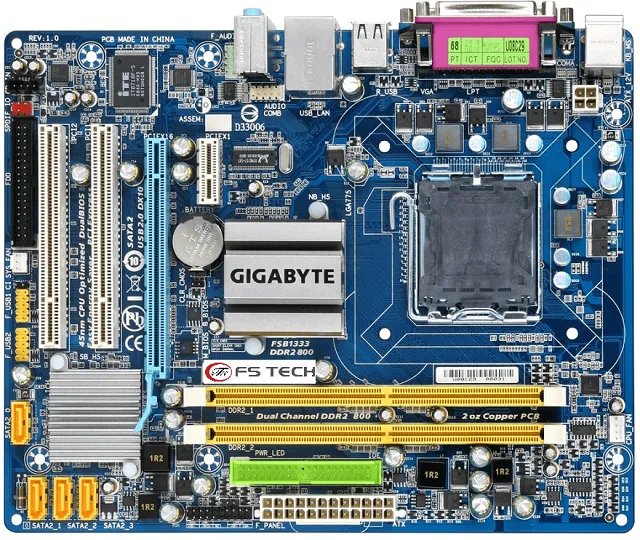
3. Installing the Motherboard (Use Standoffs!)
Once your frame is assembled:
- Install motherboard standoffs (risers)
- Align the motherboard holes with risers
- Gently screw it in
⚠️ Important: Do not overtighten screws. Motherboards are resilient but cracking them from excessive force is a real risk.
You don’t need screws in every hole. Just secure it firmly enough so it doesn’t shift.
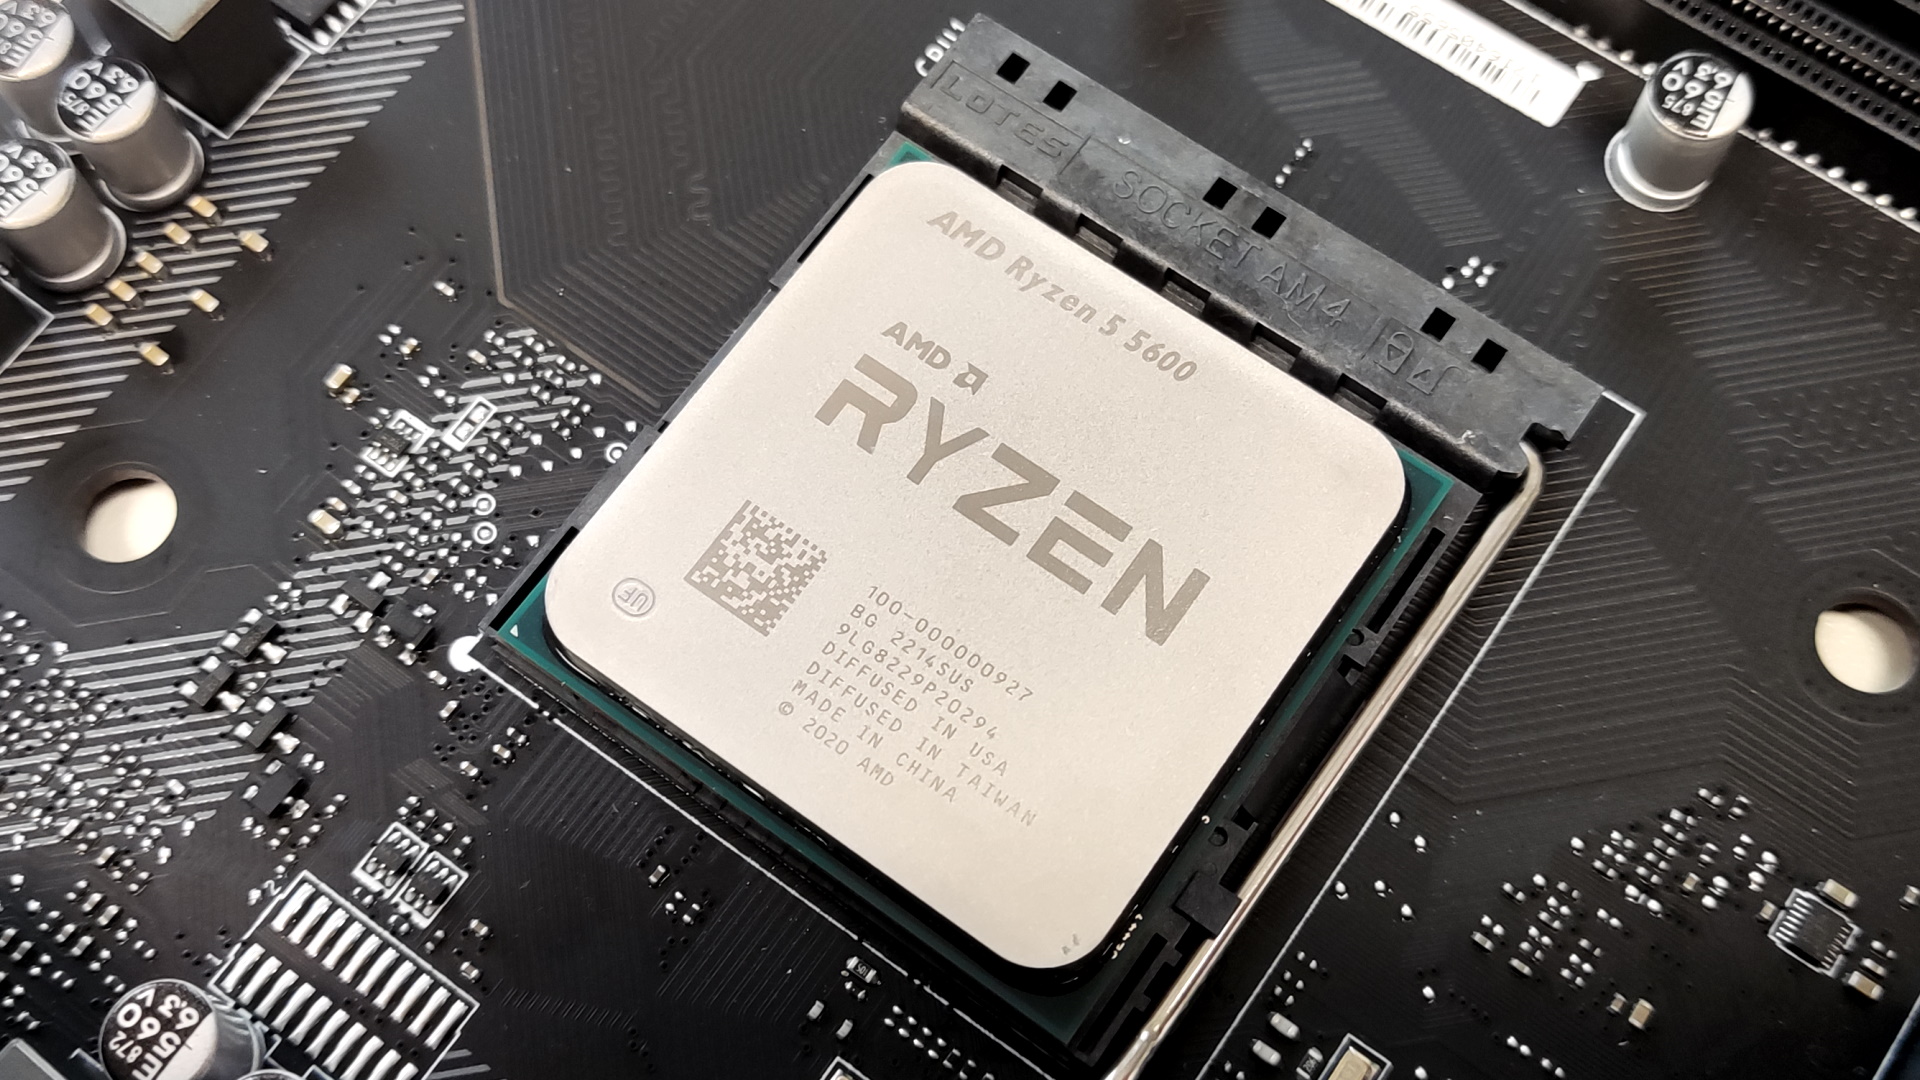
4. Installing the CPU (Align the Golden Triangle)

Installing the processor is one of the most critical steps.
Steps:
- Locate the small golden triangle on the CPU
- Match it with the triangle on the motherboard socket
- Gently place it in (never force it!)
- Lock the socket
If it doesn’t drop into place easily it’s not aligned correctly.
Thermal Paste & Cooling
Most AMD CPUs ship with:
- Pre-applied thermal paste
- Stock cooling fan
The thermal paste ensures heat transfers from CPU to cooler efficiently.
After placing the CPU:
- Attach the cooler
- Clamp it securely
- Plug the fan into the CPU_FAN header
If unsure, your motherboard manual clearly labels this or download the PDF from the manufacturer’s website.
5. Installing RAM (Random Access Memory)

For mining, RAM isn’t critical. 4GB–8GB is usually sufficient.
Installation:
- Open the RAM slot clips
- Align the notch
- Press down firmly until it clicks
If you want matched performance, use identical sticks (e.g., 4GB + 4GB).
But for mining, performance requirements are minimal compared to gaming.
6. Hard Drive vs USB Boot Drive

You have two options:
Option 1: SSD / Hard Drive
- Faster
- More stable long-term
- Connect via SATA data cable + SATA power
Option 2: USB Drive
- Cheaper
- Simpler
- Perfect for lightweight mining OS
Many miners prefer USB boot drives for simplicity.
7. Installing the Power Supply (PSU)
The power supply is critical and potentially dangerous if misused.
Important Safety Advice:
Always keep a fire extinguisher nearby.
If you ever:
- Smell burnt plastic
- See smoke
- Notice unusual sounds
Immediately unplug from the wall.
PSU Cable Labels Explained
Most modular PSUs label cables clearly:
- MB → Motherboard power
- CPU → CPU power
- VGA → GPU power
- SATA → Hard drives & peripherals
Never force a cable into the wrong port.
Mining rigs draw significant power so double-check connections before turning on.
8. Final Checks Before Powering On
Before flipping the switch:
- CPU securely installed
- Cooler firmly attached
- RAM clicked in
- Motherboard elevated on standoffs
- No loose screws
- No cables touching fans
- PSU securely mounted
Then:
- Plug PSU into wall
- Turn PSU switch ON
- Power motherboard
If everything is connected correctly your rig should POST (boot).
Why Build Your Own Mining Rig?
Building your own rig:
- Teaches you hardware fundamentals
- Helps you understand blockchain infrastructure
- Gives you control over costs
- Allows future GPU expansion
You don’t just invest in crypto you understand how it works at the hardware level.
Final Thoughts
Building a cryptocurrency mining rig isn’t as complicated as it seems. Most components are:
- Clearly labeled
- Designed to fit one way
- Hard to permanently damage if handled gently
Take your time. Work carefully. Stay safe.
And once you power it on for the first time it’s incredibly satisfying.


Leave A Comment